After you have made your portfolio page, you need to create portfolio posts so they will show up on the portfolio pages. More offers several options for portfolio posts, and with the ability to assign custom categories to each post, you can easily display a set of posts based on category. Each portfolio post offers several ways to add tags, categories. Categories are the filters you see above the post that allow the viewer to sort the posts. Tags are used to add additional meta info to the post. See below for information on how to create portfolio posts.
Follow the Steps Below To Create A Portfolio Post
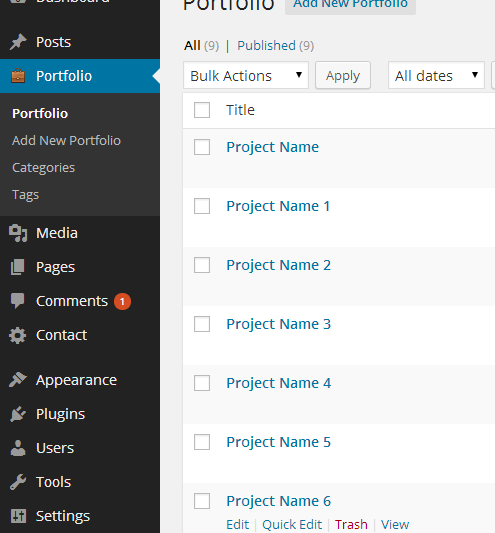
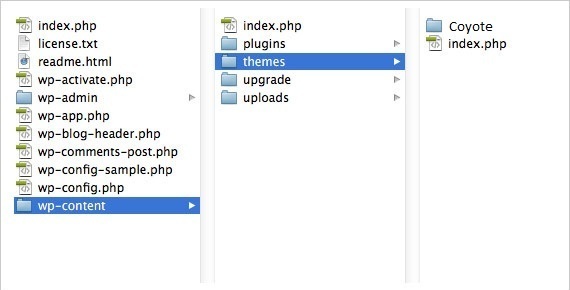
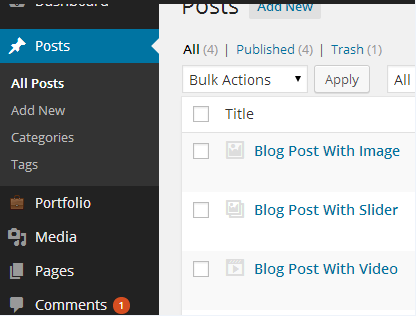
Step 1 – Navigate to Portfolio in your WordPress admin.
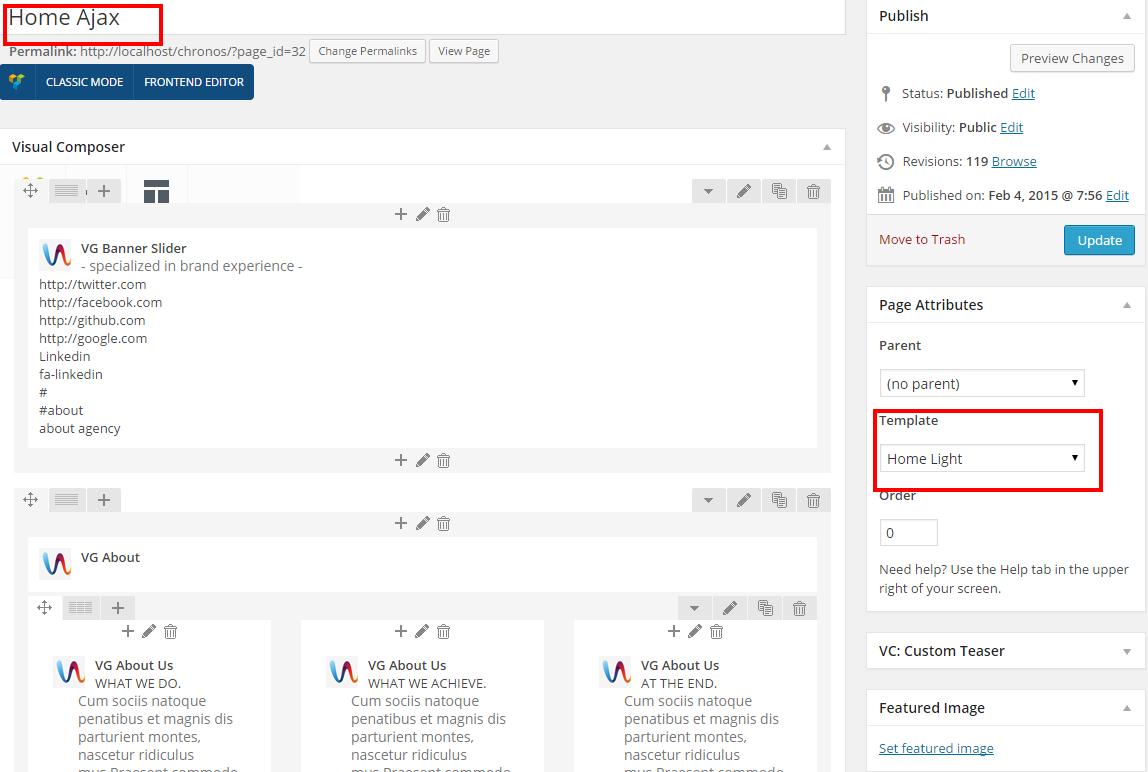
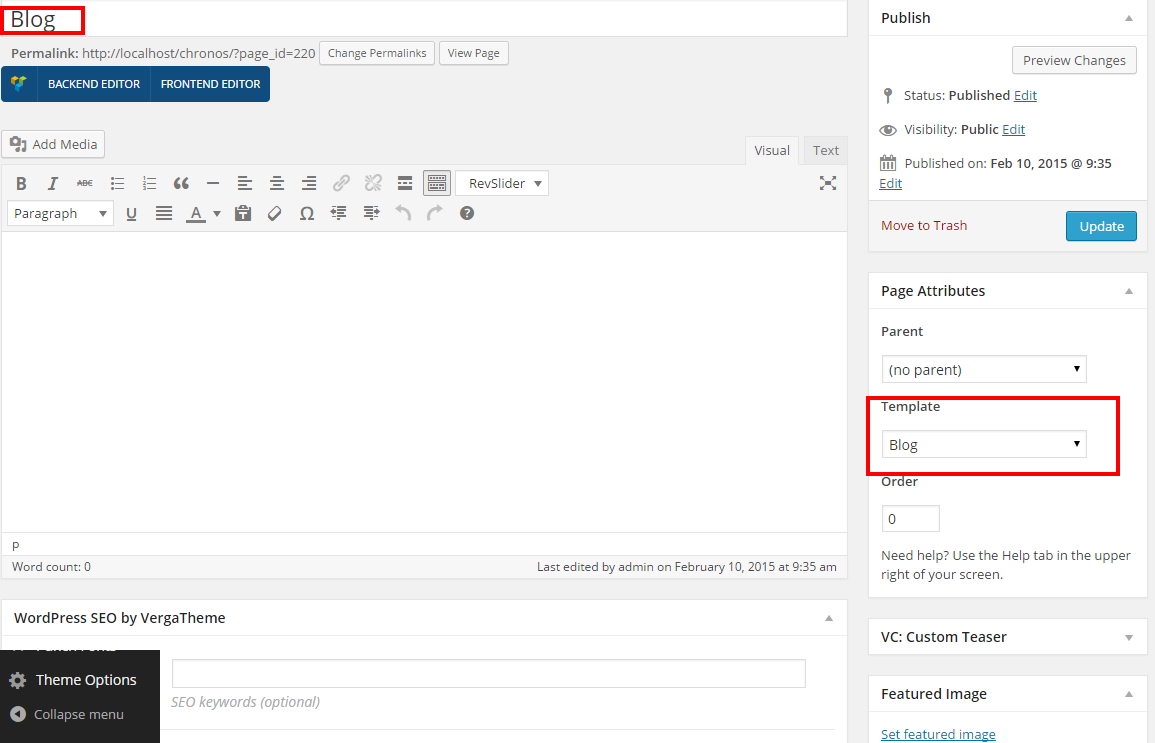
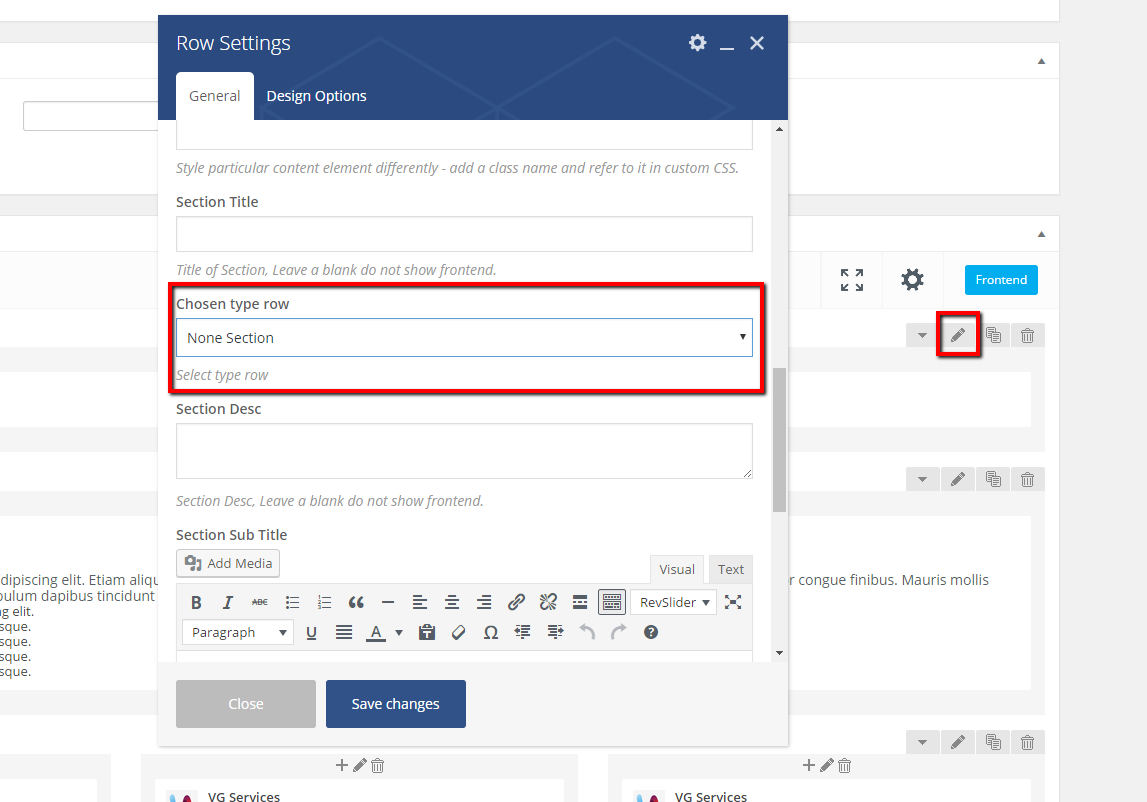
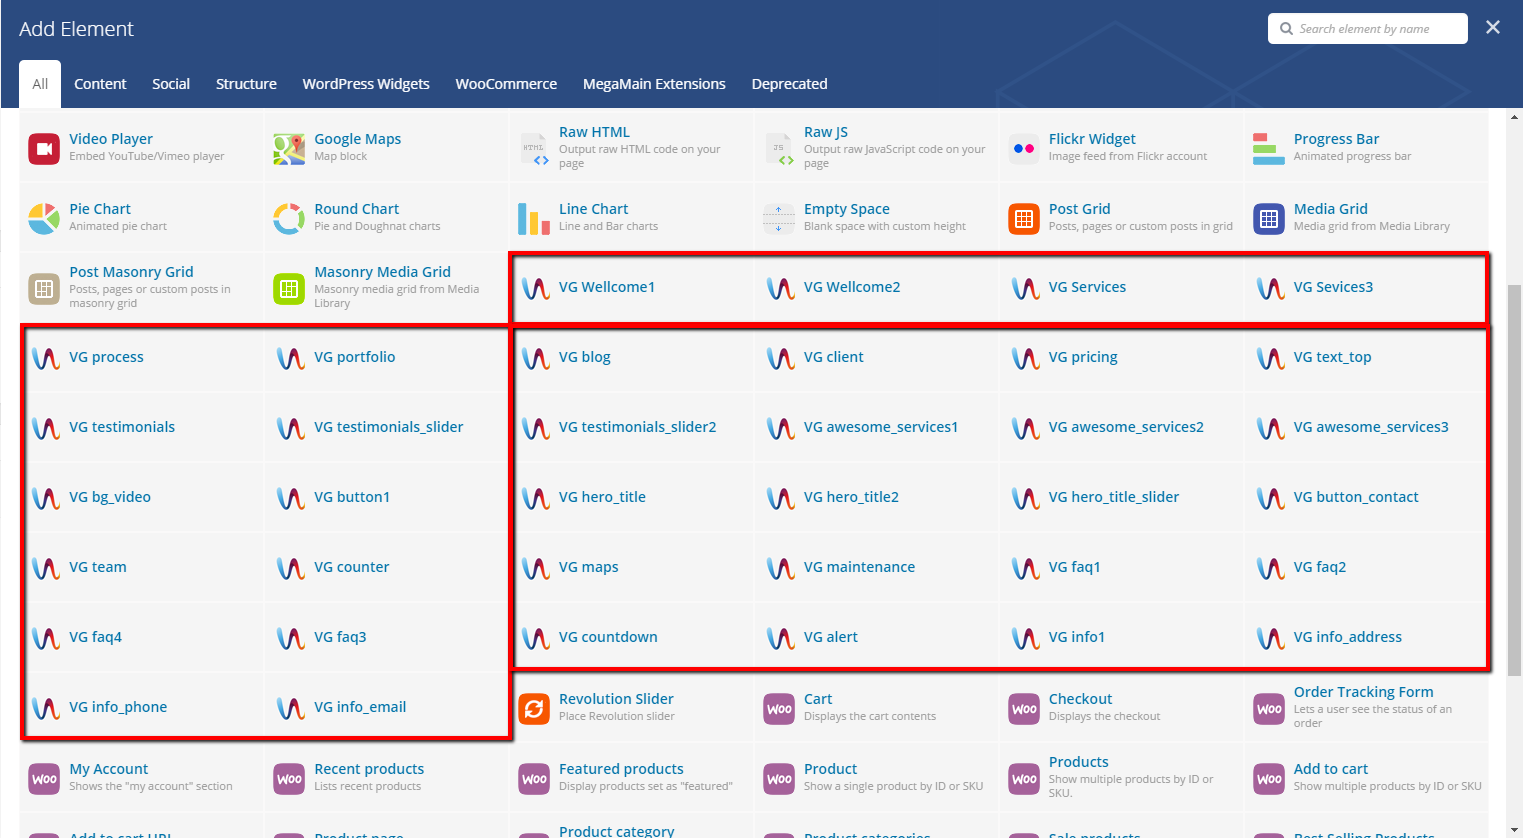
Step 2 – Click on Add New to make a new post. Create a title and insert your post content in the editing field. You can use any of our short code builder elements inside the post.
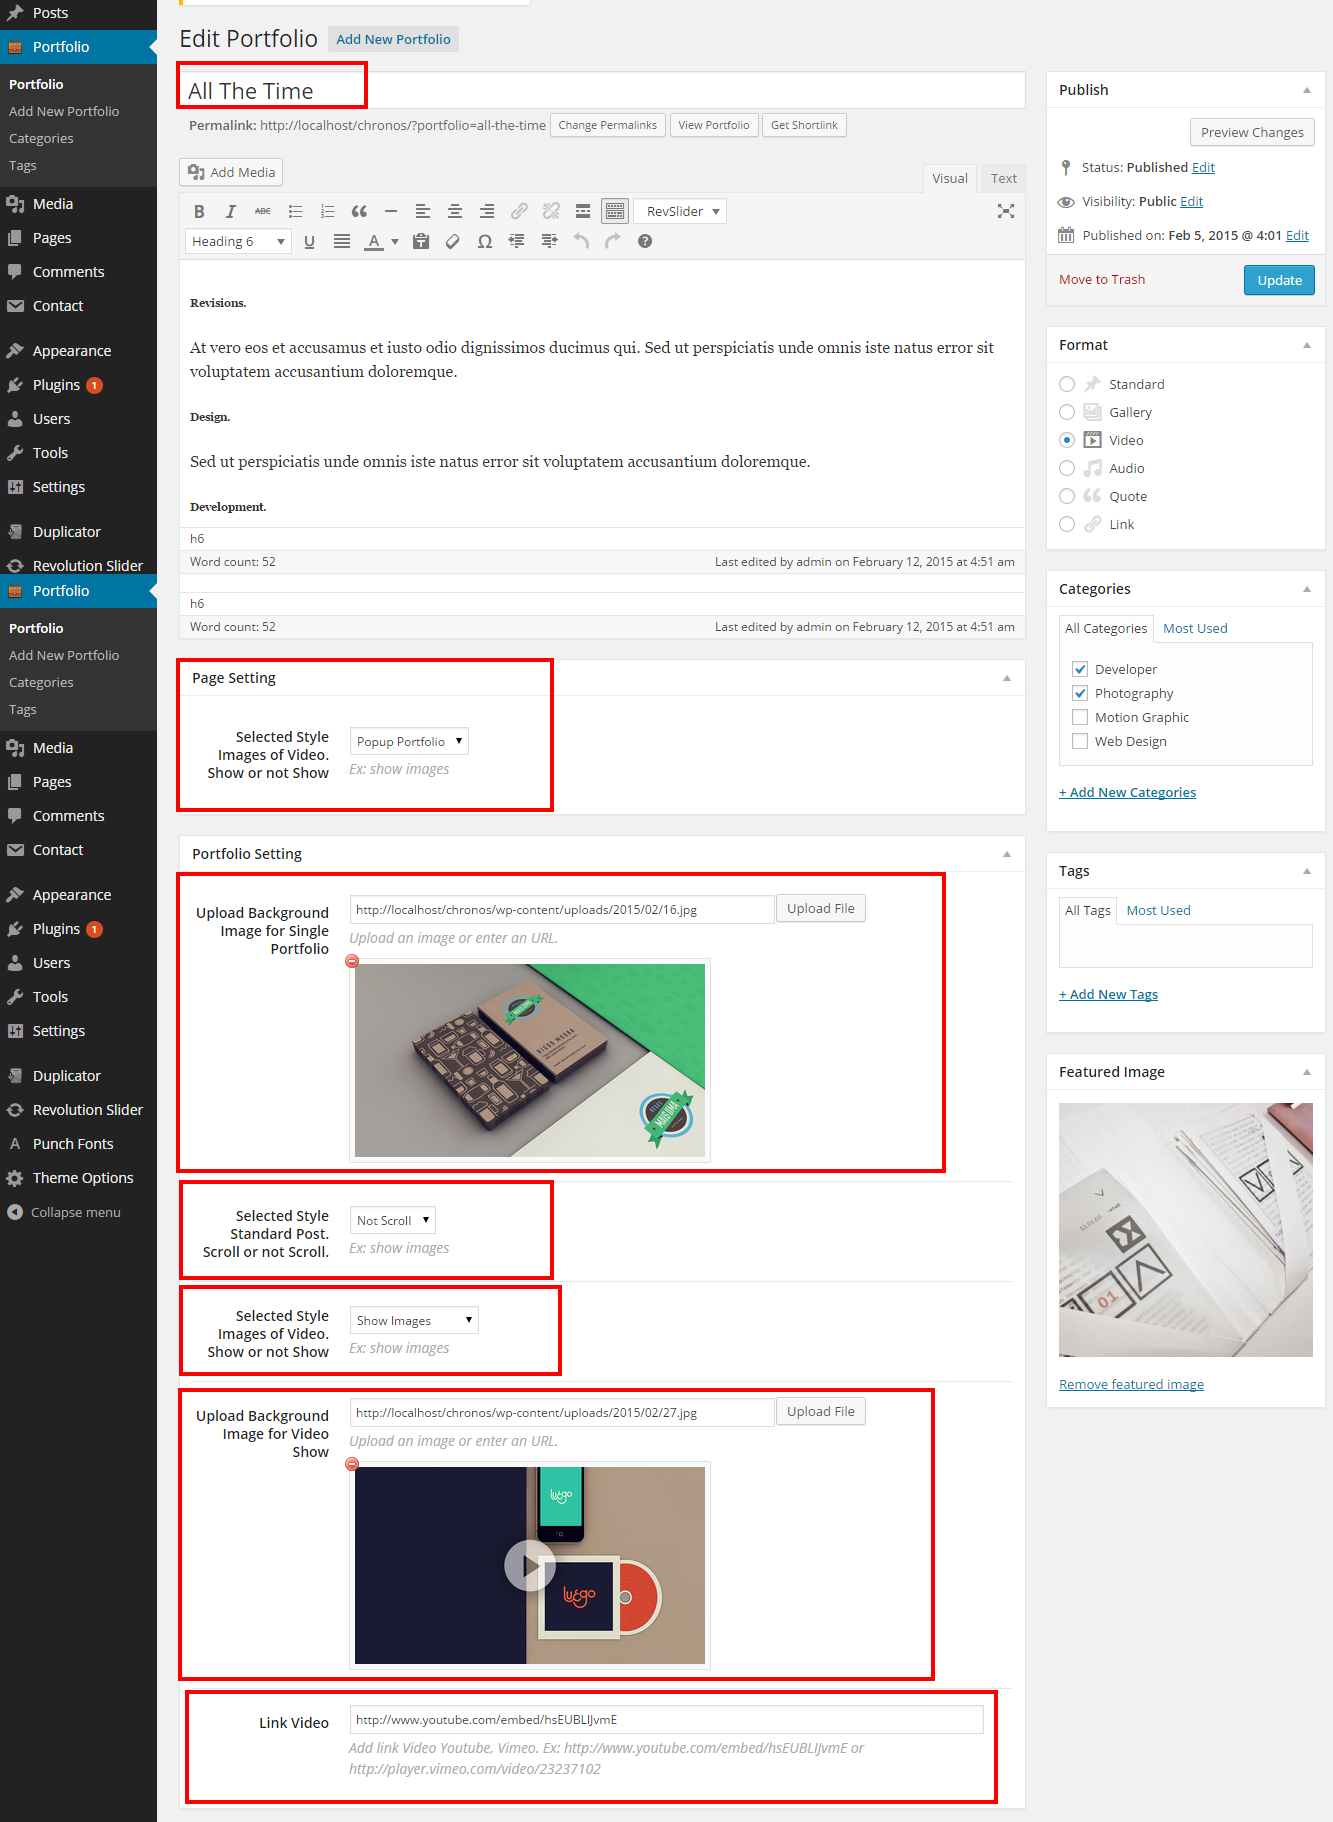
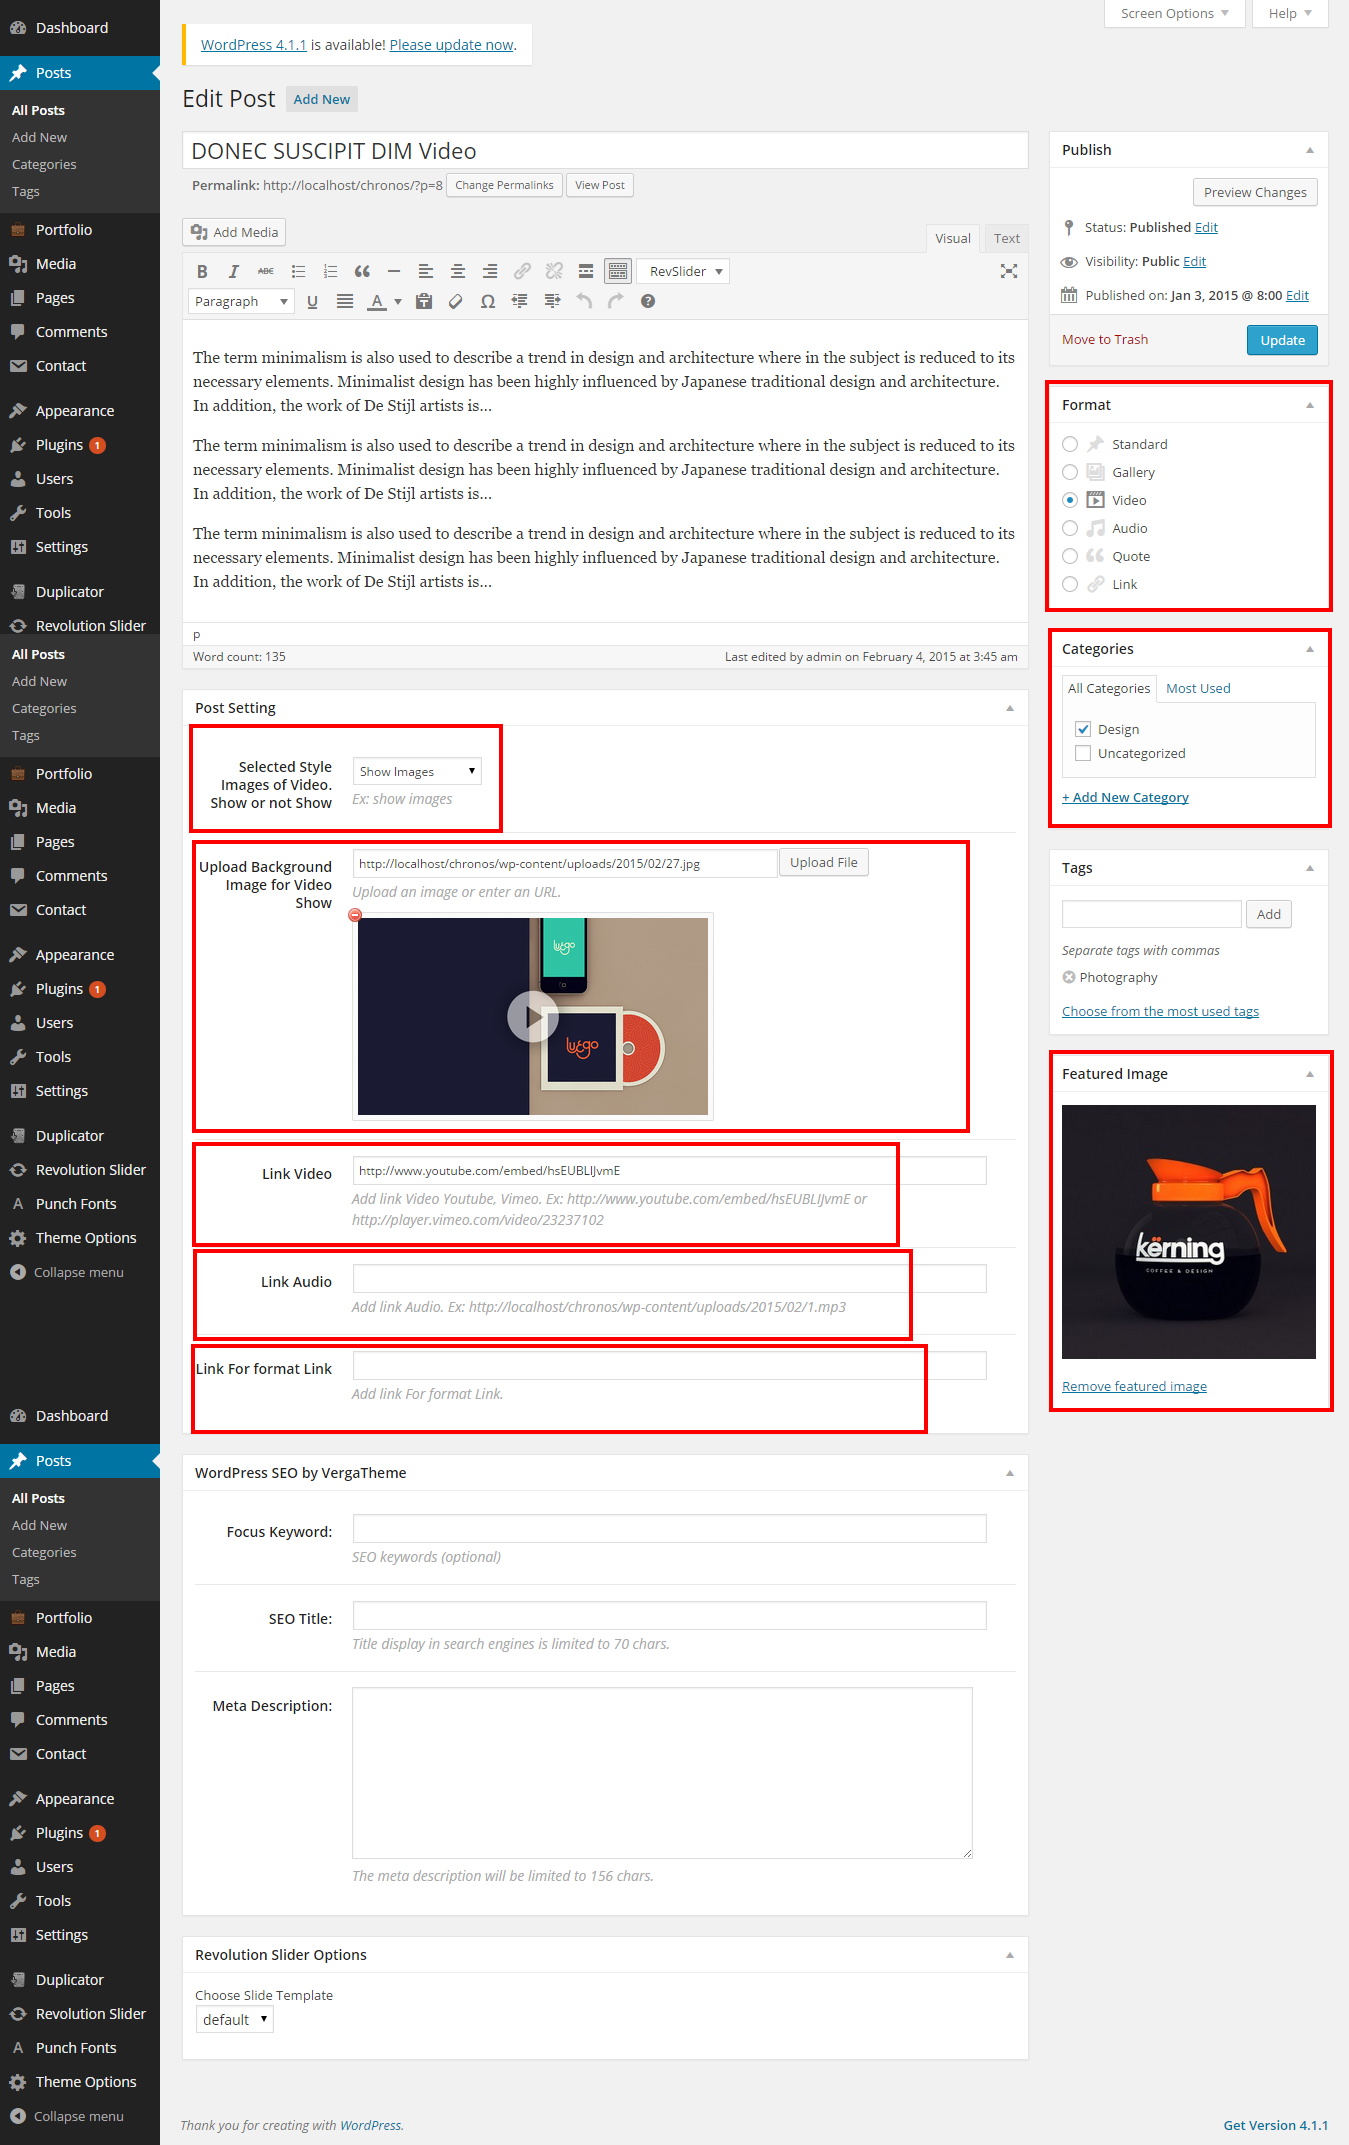
Step 3 – Add Categories from the right side. To assign it to the post, check the box next to the Category name. These Categories are the filters that will sit above your portfolio images and allow you to filter the different types of projects.
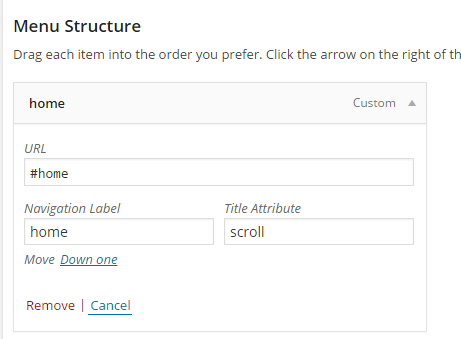
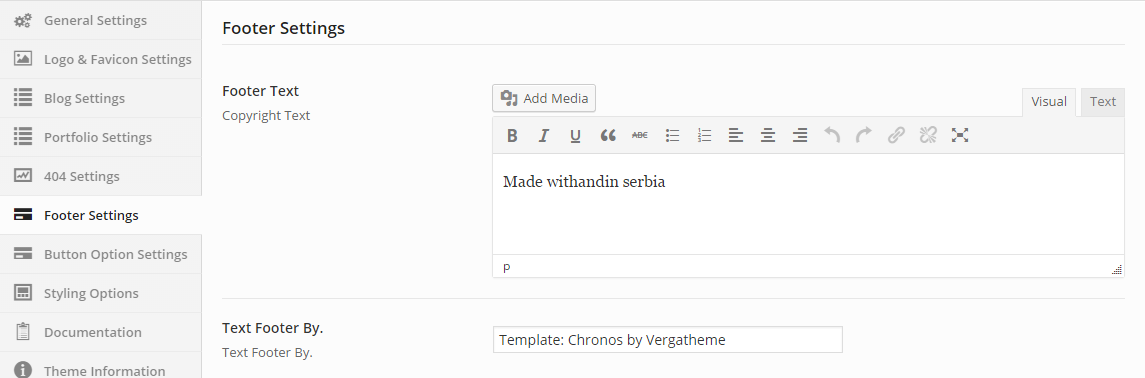
Step 4 – Add Link Facebook, Linkedin, Instagram
Step 5 – Add Link out Project.
Step 6 – For a single image, click the first Featured Image Box, select an image and click “Set Featured Image”.
Step 7 – For a slideshow, insert more than one Gallery, each image will be a slide in the slideshow.
Step 8 – For a video post, paste the Link video from either Youtube or Vimeo into the Video Link field.
Step 9 – Select any Post Format Options box.
Step 10 – Once you are finished, click Publish to save the post.
Here Is A Screenshot That Shows The Various Areas Of The Portfolio Post Page Described Above.


